- installing VSCode
- If you want to add new Tailwind classes, you need to install Node.js. Therefore, installing Node.js is optional unless you plan to modify the Tailwind styles.
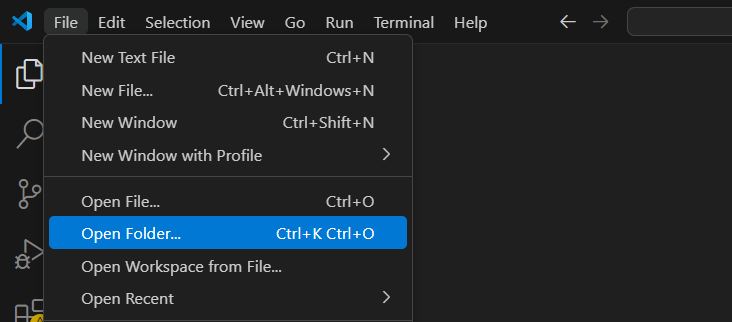
- Open the portfolio project in VSCode to edit the code and preview it in your Chrome browser using a live local server.
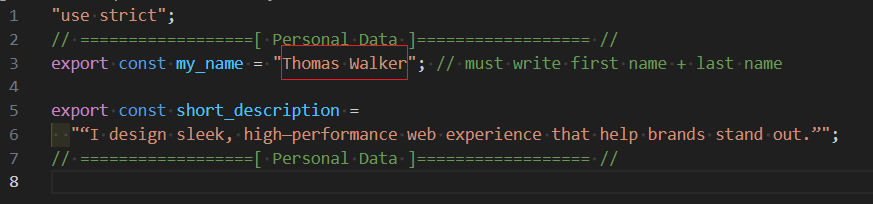
- Replace the portfolio data with your personal information. It’s recommended to have a basic understanding of JavaScript arrays and objects to edit the data more easily.
- Add your own images to replace the placeholder ones.
- Enable the contact form to allow users to send messages via email.
- Test the contact form and other functionalities to ensure everything works properly.
Folder Structure - files/folders that should modified
├── pages                           # [Folder] includes html home pages: (home-1, home-2, home-3)
|   ├── home-1.html                # [File] html home page 1
|   ├── home-2.html                # [File] html home page 2
|   ├── home-3.html                # [File] html home page 3
├── public                          # [Folder] public folder contains of images and cv file
│   ├── images                      # [Folder] Images
│   │   ├── clients                # [Folder] Client images
│   │   ├── preview                # [Folder] preview images
│   │   ├── projects               # [Folder] Project images
│   │   ├── services               # [Folder] Services images
│   │   ├── tools                  # [Folder] Tool images
│   │   └── about.jpg              # [File] About image
│   │   └── hero.jpg               # [File] Hero image
│   ├── svgs                        # [Folder] svg images
│   ├── cv.pdf                     # [File] CV PDF file
│   └── favicon                     # [File] favicon image
│
├── src                             # [Folder] Source Folder (code: css, js, php)
│   ├── css                         # [Folder] includes css files
│   ├── dist                        # [Folder] includes global.css file for using tailwind css classes
│   ├── js                          # [Folder] includes js files
│   │   ├── components              # [Folder] includes components injected in html
│   │   ├── data                   # [Folder] portfolio data
│   │   │   ├── about.js           # [File] About section data
│   │   │   ├── config.js          # [File] Theme configuration data
│   │   │   ├── contact.js         # [File] Contact section data
│   │   │   ├── home.js            # [File] Home section data
│   │   │   ├── projects.js        # [File] Portfolio section data
│   │   │   └── services.js        # [File] Services section data
│   │   └── vendor                  # [folder] includes vendor js files: gsap, scrollTrigger, lenis
│   └── php                         # [Folder] includes send-email.php file for contact via email
│
├── vendor                          # [Folder] includes vendor php files: phpmailer, phpdotenv
├── .env                           # [File] Environment variables file for contact
├── composer.json                   # [File] composer json (related to php)
├── composer.lock                   # [File] composer lock (related to php)
├── index.html                      # [File] index file / entry point
├── package-lock.json               # [File] package lock file (related to node.js)
└── package.json                    # [File] package json file (related to node.js)
- install VSCode
- open VSCode and open the portfolio project folder nightfolio folder that contains of public, src, .env, etc... files
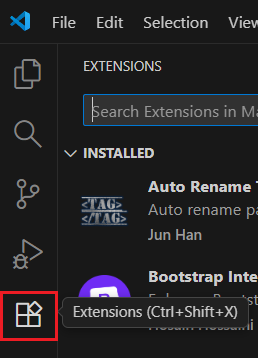
- go to extenstions
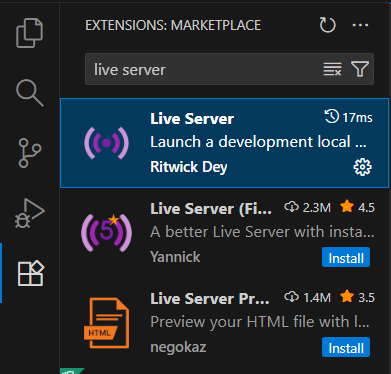
- search for live server extenstion, and install it
- right click on index.html and then select Open with Live Server
- The project opens in your default browser (e.g., Chrome).
- You can now customize the portfolio and instantly see your changes on the webpage without reloading
-
Before you start, note that all edits will be made in the following locations
- data folder → for portfolio data
- public folder→ for images and CV file
- .env file → for mail sending configuration
- Review the mockup images and sample data to understand how to modify the portfolio to fit your style and needs.

if you want edit template easily just you need simple knowledage of js variables,arrays and objects to edit the portfolio and it's really simple and here the explanation:
javascript variables

javascript arrays
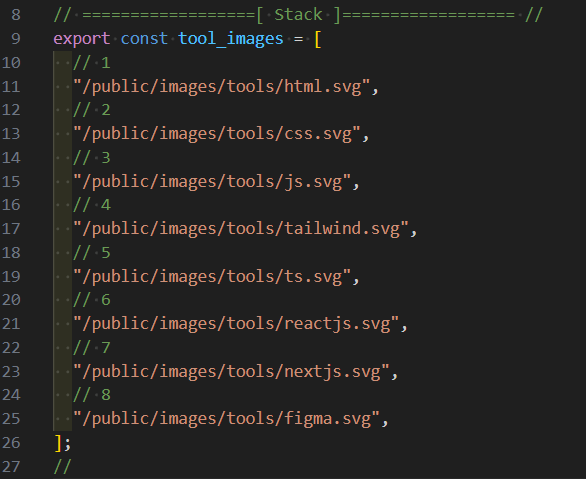
- this an array of strings and strings here in this example are tool svgs
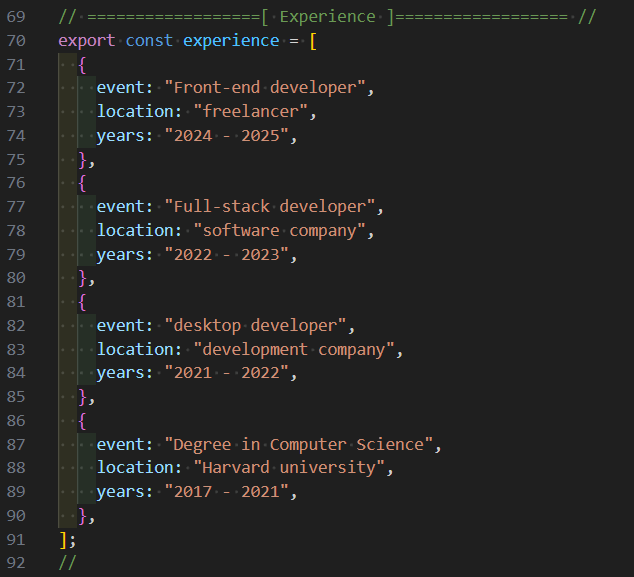
- this an array of objects and objects here in this example about experience progress from newest to oldest, and every object has event, location, years properties
data folder
- Inside the /src/js/data folder, you’ll find all the sections of the portfolio (e.g., home, about, projects, etc.).
- Each section contains variables and blocks of properties that define its content. To personalize the portfolio, update these values with your own information. For example, change the name, description, or image paths to match your data.
- The structure is consistent across all sections
- you can add or remove and edit , you have the full control
- you will just replace some of texts and images paths to fit yours needs
- Do not change the names of constants or keys. Only modify the values to suit your needs.
you need to add your website meta data , name , job description and location for Better SEO, and these 4 fields exists in home-1, home-2, home-3 pages
- website meta data: title, description
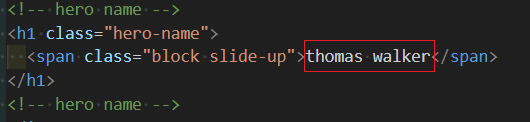
- name
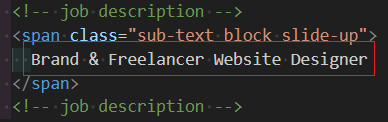
- job description
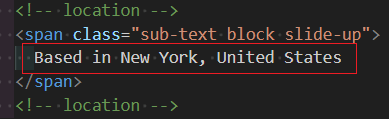
- location

make sure the my_name variable consistent with your actual name in html files
open pages/home-1.html or pages/home-2.html or pages/home-3.html
Dark & Light theme
- - add dark class (dark)
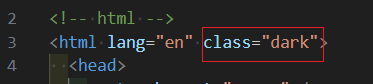
- - remove dark class (light)

open src/js/data/config.js file
client/testimonials
- slider
- stacked-sticky-cards
projects/portfolio section
- cards
- 3-cards
- stacked-sticky-cards
- stacked-cards
- list
- side-cards
services section
- cards
- list
contact section
- contact-1
- contact-2
make sure you write correct spelling of vairant options
general steps
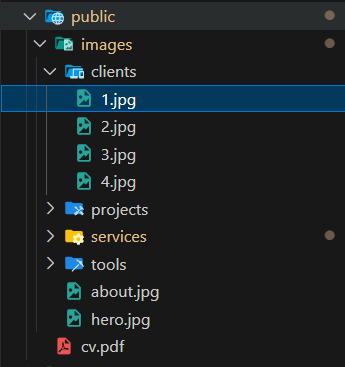
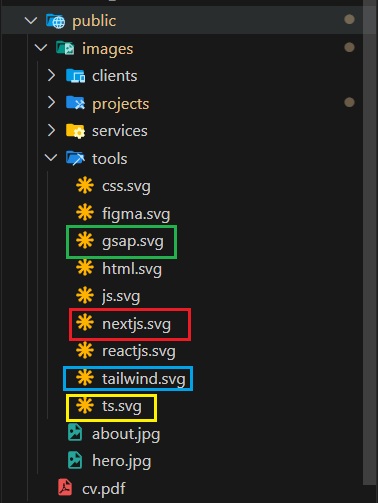
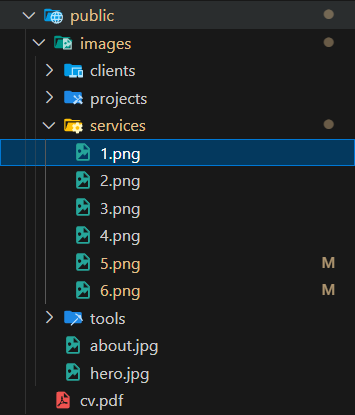
- Open the public/images folder. Inside, you’ll find subfolders for projects, tools, clients, as well as the files about.jpg and hero.jpg.
- Replace the existing placeholder images with your own.
- Delete the cv.pdf file from the public folder and replace it with your actual CV file.
cv file
- just replace existing one with your cv file named cv.pdf in the same place
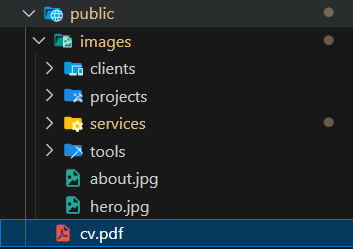
about & hero image
- Replace the current about.jpg image with your own version, keeping the same file name and location.
- Replace the current home.jpg image with your own version, keeping the same file name and location.

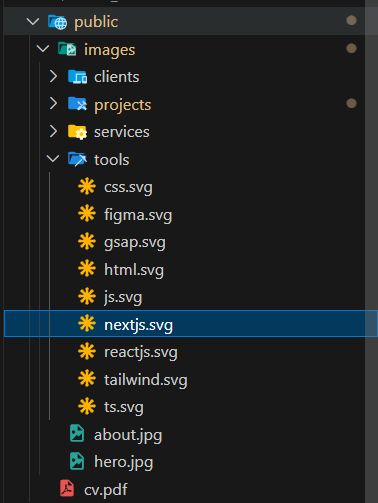
tool image
- tool svgs from svg repo
- Add your tool SVGs to the images/tools folder, then update their source paths in src/js/data/about.js
- example
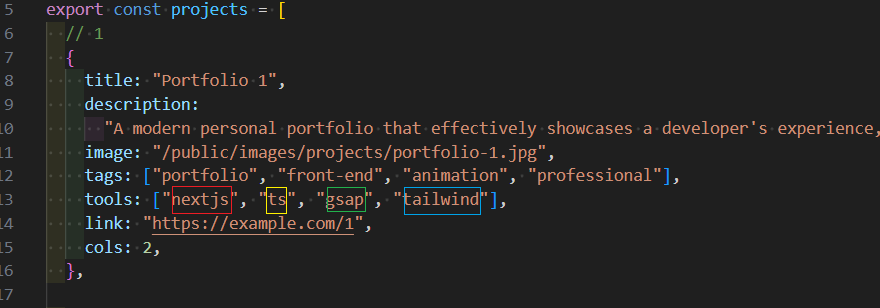
image: "/public/images/tools/nextjs.svg"

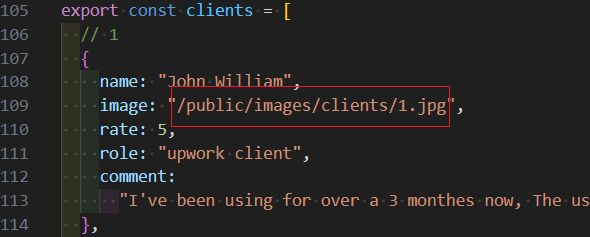
client image
source: "/public/images/clients/1.jpg"
project image
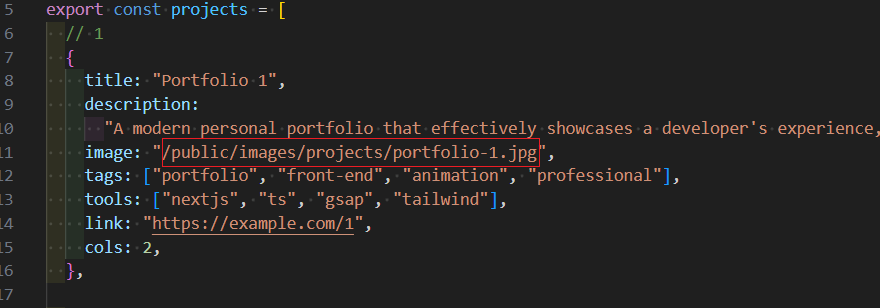
- Project images should have an aspect ratio of 4:3 with a resolution of 1600 × 1200 pixels.
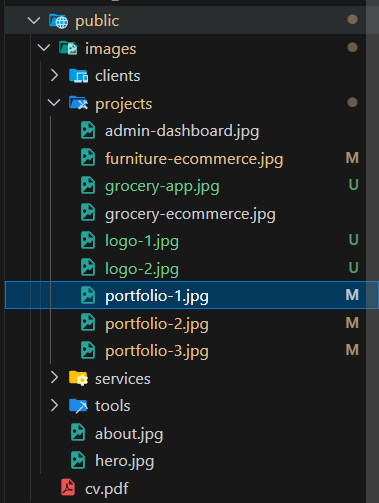
- Place your project images inside the images/projects folder. Then, in src/js/data/projects.js, update the image paths accordingly.
- example
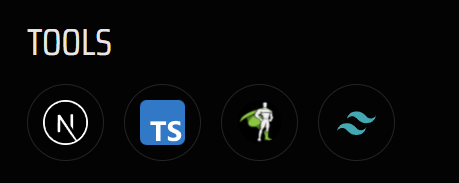
image: "/public/images/projects/portfolio-1.jpg" - you must write project tools like you named in public/images/tools you don't need to write tool image paths, note that:
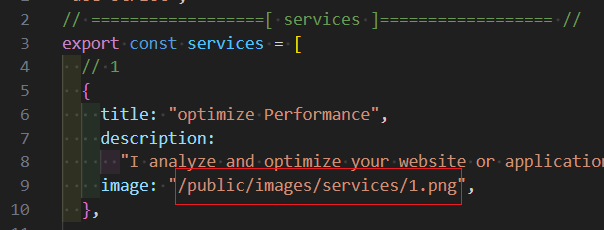
service image
- service image from 3d-icons
- Add your servcie image in the images/services folder. Then, in src/js/data/services.js, update the image source paths.
- example
image: "/images/services/1.png"
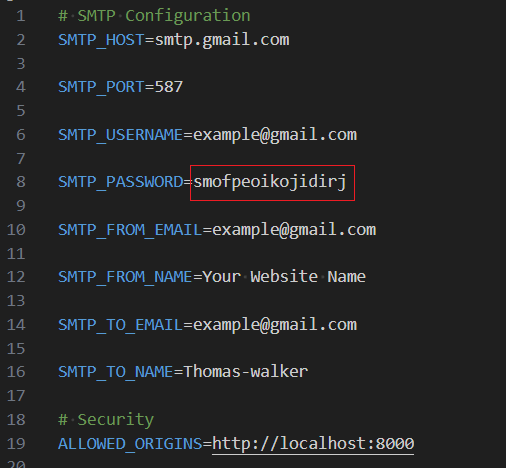
- open .env file
- default values for gmail email service
- add your actual email
- create app password from google just go to google, and select privacy section and search for app password and create one and then copy it to add to APP_PASSWORD and the app password contains of 16 characters and don't forget to remove spaces between password, and add it
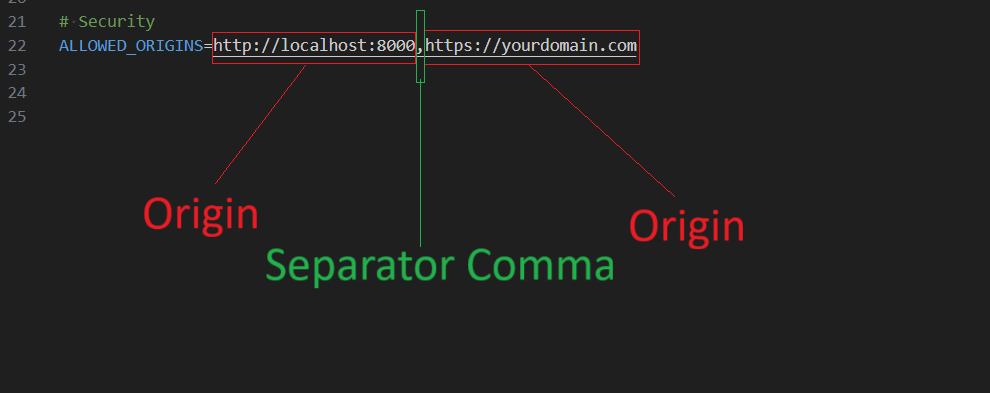
- you can add more origins, in this example you have 2 origins: https://localhost:8000 is the local server, https://yourdomain.com your hosted website, After your portfolio is hosted, configure your email system to accept emails sent from that domain
- you can test it to send to your self after deployment, and you can test it localy but you must install xampp


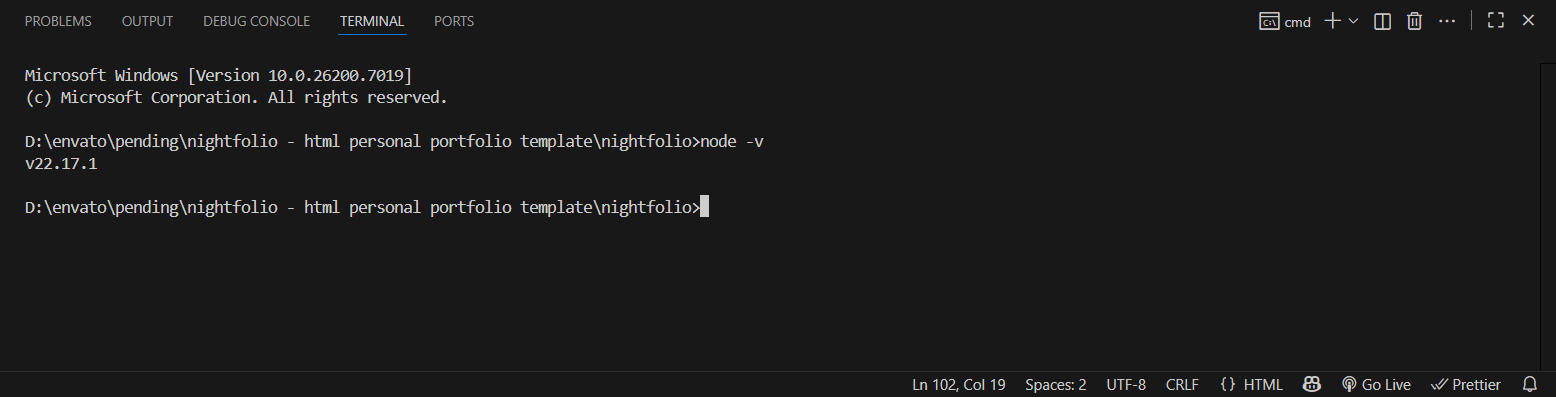
- install node.js
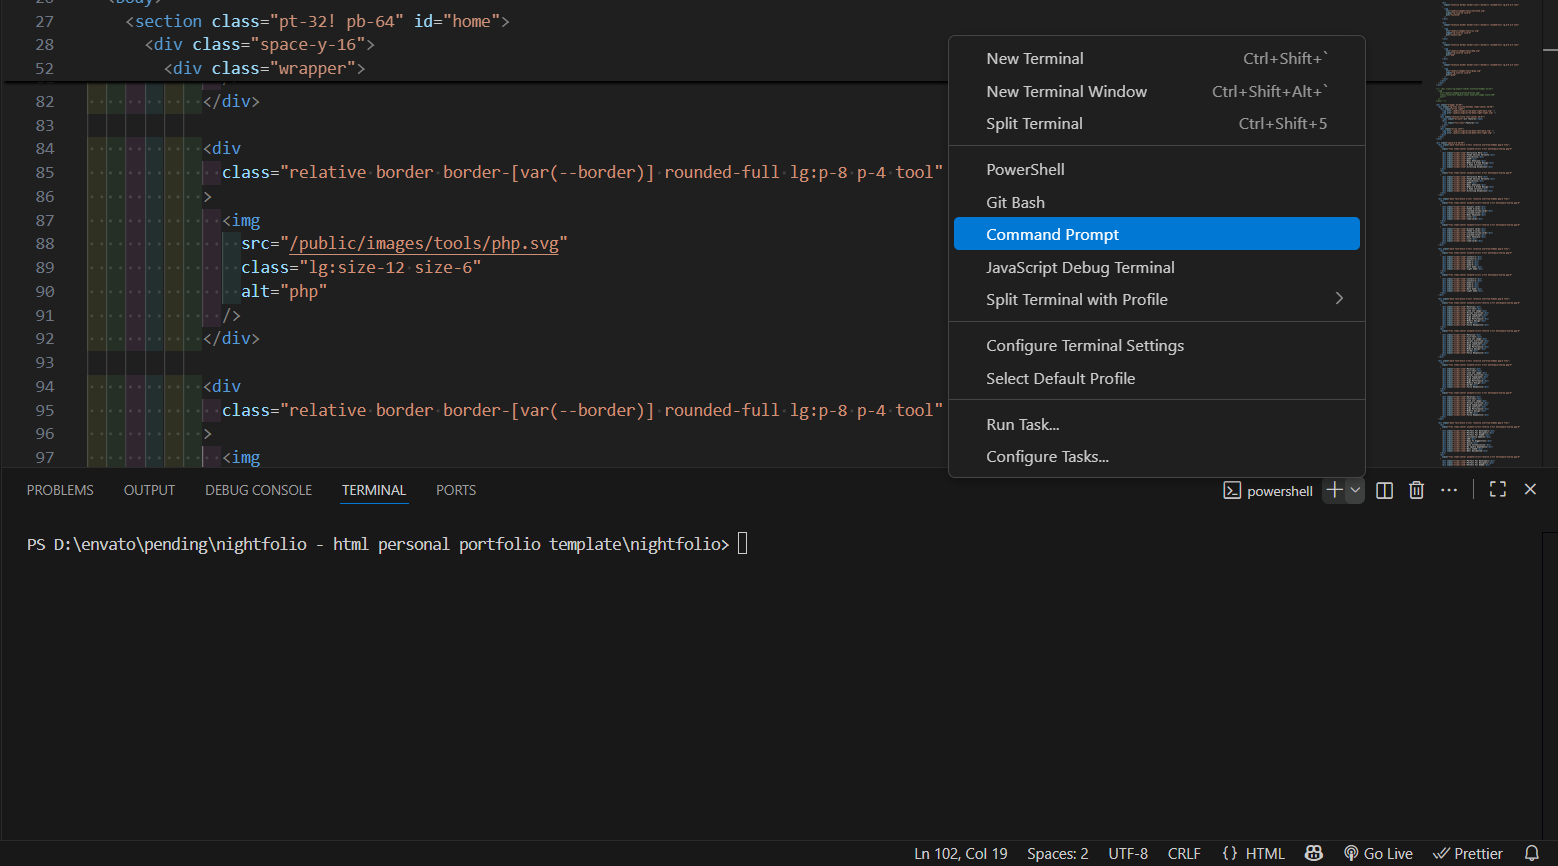
- press CTRL + J to open the terminal and then select terminal
- choose command prompt instead of powershell
- write: node -v and press Enter to show the version of nodejs and sure you installed properly otherwise there is a problem about installation
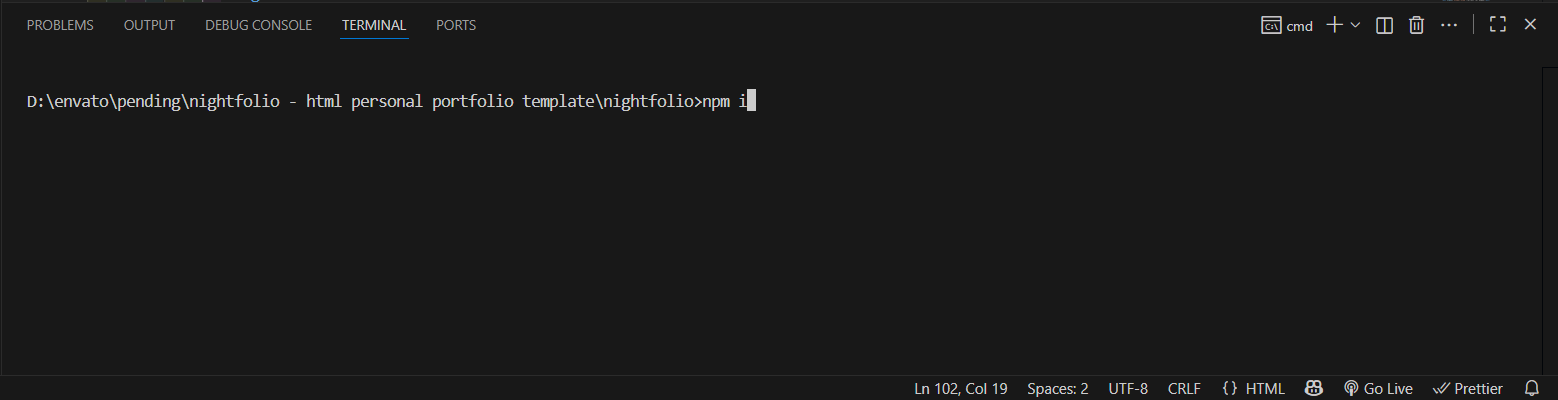
- write: npm i and press Enter to install node_modules folder
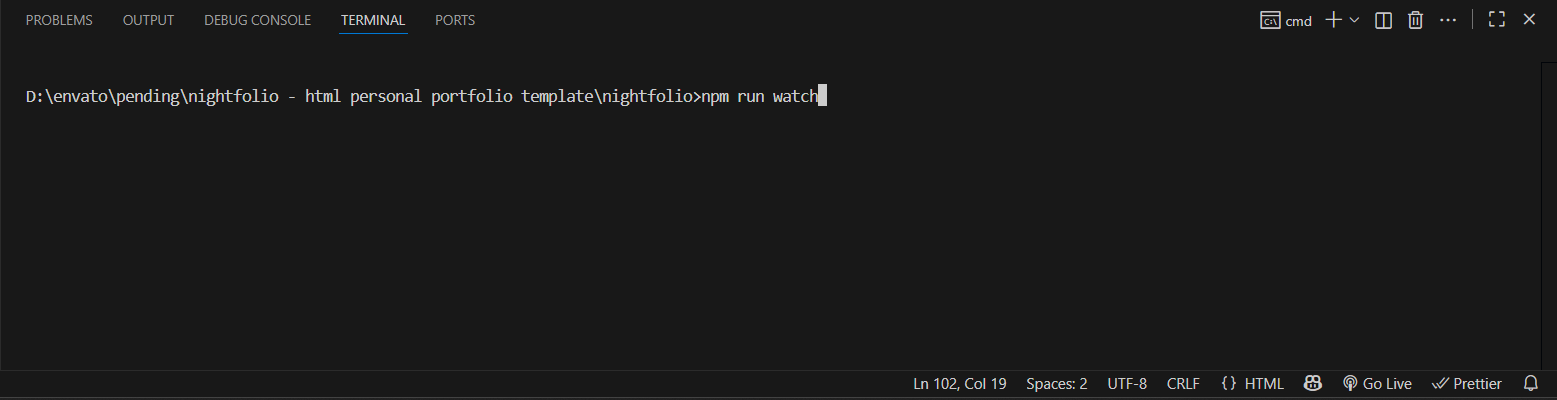
- write: npm run watch and press Enter to watch new tailwind classes
- install xampp
- open the command prompt and write php -v to show the version of php and sure you installed properly otherwise there is a problem about installation
- close live server by close browser window, because you will run php server instead of live server
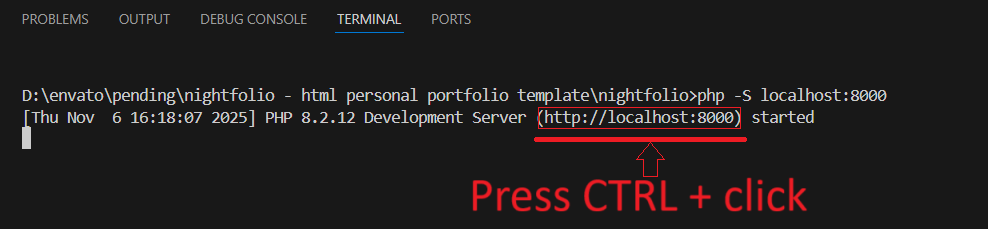
- write php -S localhost:8000
- If you face a problem check .env file make sure you added your email and app password properly

output

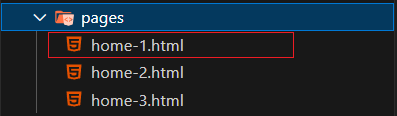
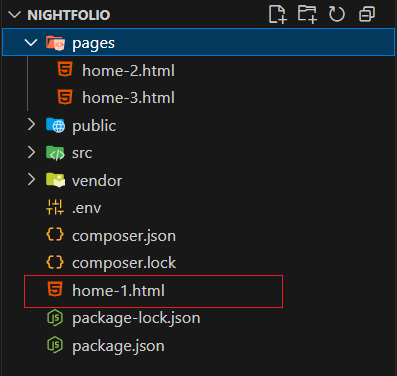
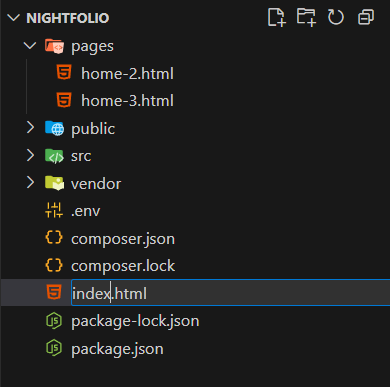
- Move the existing index.html file to another location outside the project folder (as a backup).
- choose a home page from /pages folder
- Drag home-1.html, home-2.html, or home-3.html and place it at the root level of the project.
- Rename the selected file (home-1.html, home-2.html, or home-3.html) to index.html so it becomes the main entry point.
- Open the new index.html file in your browser to test the changes.
It’s recommended to move all unnecessary files outside the nightfolio folder to keep the project clean and lightweight.
- Project Image at aspect ratio (4:3) 1600 x 1200
- 3d Service image from 3d-icnos
- tools images svg from svg repo
- know more about VSCode by watching some videos, how to use, how to add extenstions that make your life easier
- don't change const variables to another name that exists in data folder's files about.js, projects.js, etc..., just edit the values
- test your changes
- focus when editing
- if you face any confusion about modification you can know more about javascript variables & datatypes, arrays ,objects
- give me your feedback or suggestions if you hope to change somthing, contact me anytime
If you face any problem or have confusion about something or have any sugesstion please contact me any time contact me